Pages

Showing posts with label Shredded Cheese. Show all posts

Monday, November 5, 2012

Buffalo Chicken Pockets


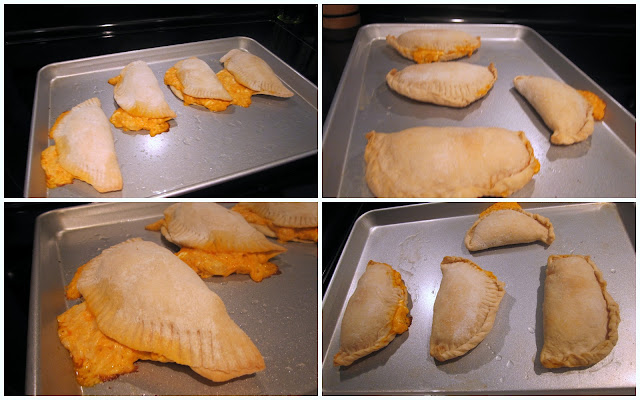
These buffalo chicken pockets turned out so good!  I've made homemade pizza pockets before  and they were awesome.  I wanted to change things up and these buffalo chicken pockets definitely give a kick.  I basically made a buffalo chicken dip filling, which you could use just as a dip minus the pizza dough.  These will be great for a quick lunch or dinner.  I did freeze most of them to have on hand for a quick meal.  When I made these, I didn't close the seal the pockets well with a fork but for the second batch, I just pinched the seams with my fingers and it turned out much better.  Don't worry too much if the filling oozes out some, it will still be delicious even if it doesn't look pretty.


Buffalo Chicken Pockets

Ingredients
1 batch homemade pizza dough (recipe here - http://sophieinthekitchen.blogspot.com/2012/05/pizza-dough.html)
2 cups shredded rotisserie chicken
½ cup hot sauce (I used Frank’s hot sauce.)
½ cup ranch dressing (I used Hidden Valley Light.)
8 ounces cream cheese (I used 1 package of low fat cream cheese.)
1 cup shredded cheese (I used an Italian mix.)
olive oil


Directions

Preheat oven to 400 degrees F.  Grease baking sheet with olive oil.

In a bowl, combine chicken, hot sauce, ranch dressing and cream cheese.  Stir in ½ cup shredded cheese.  

Divide dough into at least 8 pieces.   Roll dough pieces into balls.  Next, flatten dough balls with a rolling pin.  Spoon about 2 tablespoons of filling onto one side of the dough circle.  Sprinkle with shredded cheese.  Fold dough over and seal tightly with fingers or a fork.  

Bake on a greased baking sheet for about 20-25 minutes until lightly browned.

Serve immediately.   If you have leftovers, you can freeze them!
After they cool completely, store in a freezer bag for up to 2-3 months.  To reheat frozen buffalo chicken pockets, microwave for about 2 minutes or warm in the oven for about 20 minutes at 350 degrees F.  Check to make sure they are heated through before serving.  Enjoy!

Tuesday, October 30, 2012

Chicken Enchiladas


Luckily Hurricane Sandy didn't really affect me too much, I didn't lose any power and I was out of work for the last two days.  It gave me time to cook!  These chicken enchiladas are super easy to make.  I used shredded rotisserie chicken that I already had and my favorite enchilada sauce from Trader Joe's.  Instead of corn tortillas, I decided to use whole wheat tortillas.  This entire meal probably took me less than 45 minutes to put together (including prep work and cooking time).  These chicken enchilada are quick enough for a weeknight dinner.  Enjoy!


Chicken Enchiladas

Ingredients
2 cups shredded rotisserie chicken
1 ½ cups enchilada sauce (I used Trader Joe’s)
1 ounce cream cheese
½ cup pinto beans
½ cup diced peppers
½ cup diced onions
2 tablespoons butter
1 cup shredded cheese (I used a Mexican blend.)
4 whole-wheat tortillas (You may use corn tortillas.)
Optional Toppings
sliced green onions
guacamole
sour cream or plain greek yogurt


Directions

Preheat oven to 350 degrees F.

In a large pan, over medium heat, add butter and onions.  Cook for 2 to 3 minutes until onions are softened.  

Next, add peppers.  Cook for about 5 minutes until onions and peppers are golden.

Add in chicken and pinto beans.

Stir in ½ cup enchilada sauce and cream cheese.

Add in ½ cup shredded cheese.  Stir to combine.

Warm tortillas according to package directions.


In an 8x8 inch baking dish, pour ½ cup enchilada sauce to cover bottom of dish.

Spoon about 1/2 cup chicken mixture into each tortilla and top with some shredded cheese.  Roll tortilla tightly and place in baking dish.  Repeat.

Top the rolled tortillas with ½ cup enchilada sauce.  Sprinkle about ½ cup shredded cheese on top of the enchilada sauce.


Bake for about 20 minutes.   Serve with your favorite toppings if desired. 

Serves 4.


Tuesday, October 23, 2012

Broccoli Cheese Soup

I am loving this homemade broccoli cheese soup!  It is so much better than the canned soups and its super easy to make.  Not only does this broccoli cheese soup taste better than canned, its healthier.  You can control the amount of sodium and use low-fat milk.  This soup is warm, creamy and delicious.  It also reminds me of Panera's broccoli cheese soup too.  You could also serve this soup in a bread bowl.  Enjoy!


Broccoli Cheese Soup

Ingredients
4 tablespoons butter
½ yellow onion, diced
1 ½ to 2 cups broccoli florets
3 tablespoons flour
3 cups milk
¼ teaspoon nutmeg
½ teaspoon freshly ground black pepper
½ teaspoon salt
1 ½ cups shredded cheese (cheddar and/or jack)


Directions

In a saucepan, over medium heat, add butter and onions.

Cook onions for about 5 minutes until soft.

Stir in flour and cook for about 1 minute.

Next, add in milk.

Add in broccoli, nutmeg, black pepper and salt.

Cover and cook for about 20 minutes until broccoli is tender.


Stir in cheese until melted.

You may serve as is or puree soup in a blender and/or food processor.  You may also use an immersion blender.


Top with extra shredded cheese if desired.


Saturday, October 20, 2012

Mini Spinach and Cheese Quiches

These mini spinach and cheese quiches are perfect for breakfast, lunch or brunch.  They are perfect for me to bring to work since they reheat well in the microwave.  I adapted this recipe from The Domestic Mama and The Village Cook's spinach and cheese baby quiches (original recipe here).  I made my spinach and cheese quiches in muffin pans, and used fresh spinach instead of frozen.   I will definitely be making these mini spinach and cheese quiches again and I would like to add some cooked bacon next time.   I am also freezing half the mini spinach and cheese quiches to see how they hold up.  I'll update this post when I find out.


Mini Spinach and Cheese Quiches

Ingredients
1 ½ cups spinach (Cook two 9 ounce bags fresh spinach or use frozen spinach, thawed and drained)
12 ounce can evaporated milk
2 tablespoons flour
3 eggs
½ teaspoon salt
½ teaspoon parsley, dried
¼ teaspoon garlic
1 ½ cups shredded cheese (I used a cheddar jack blend.)
Optional (if cooking spinach)
1 to 2 tablespoons olive oil
salt and pepper to taste


Directions

Preheat oven to 375 degrees F.  Grease a muffin pan.

In a large pan, over medium heat, add 1 to 2 tablespoons olive oil.  Add in 1 bag of spinach and when wilted, add the second bag of spinach.  Stir and season with salt and pepper.  Cook for a few minutes until spinach is completed wilted.  Allow to cool.

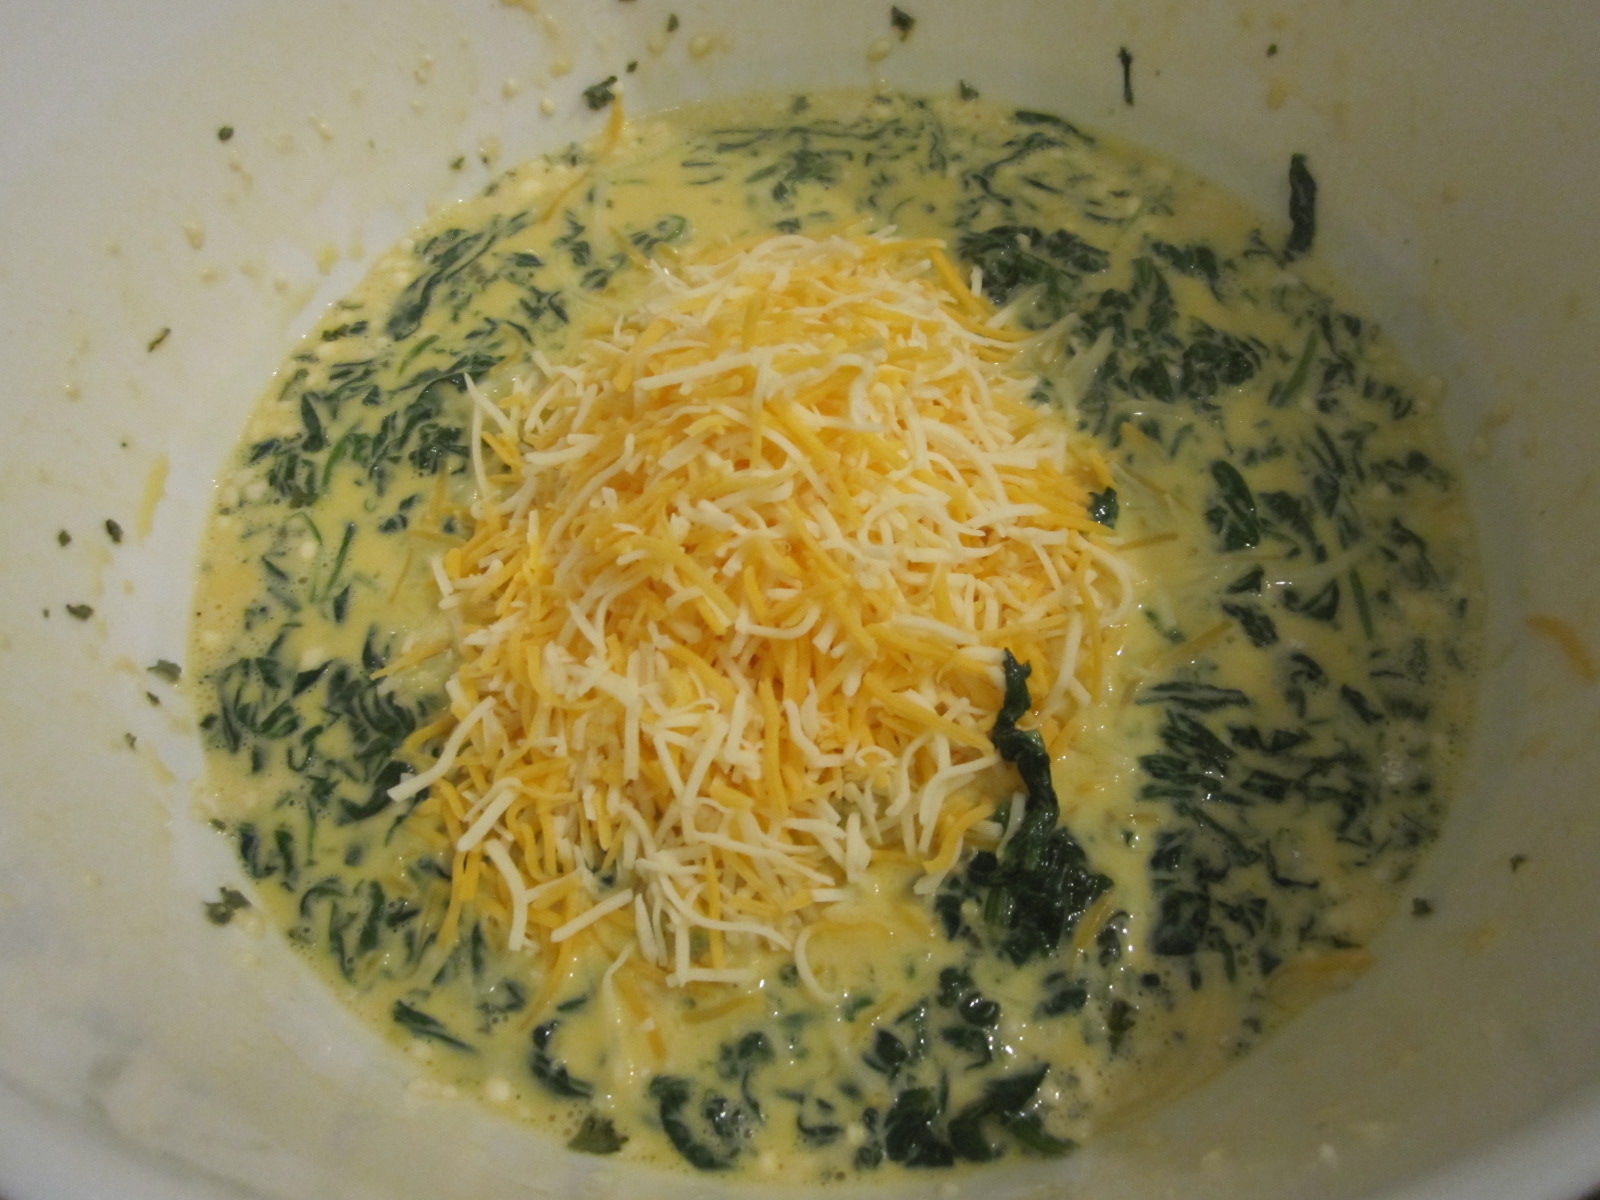
In a medium bowl, combine milk, eggs and flour.

Add spinach, salt, parsley, and garlic.

Stir in cheese.


Pour into greased muffin pan.


Bake for 15 to 18 minutes.

Makes 12 mini quiches. 


Freeze extra quiches in freezer bag.

Tuesday, October 9, 2012

Mini Chicken Shepherd's Pie


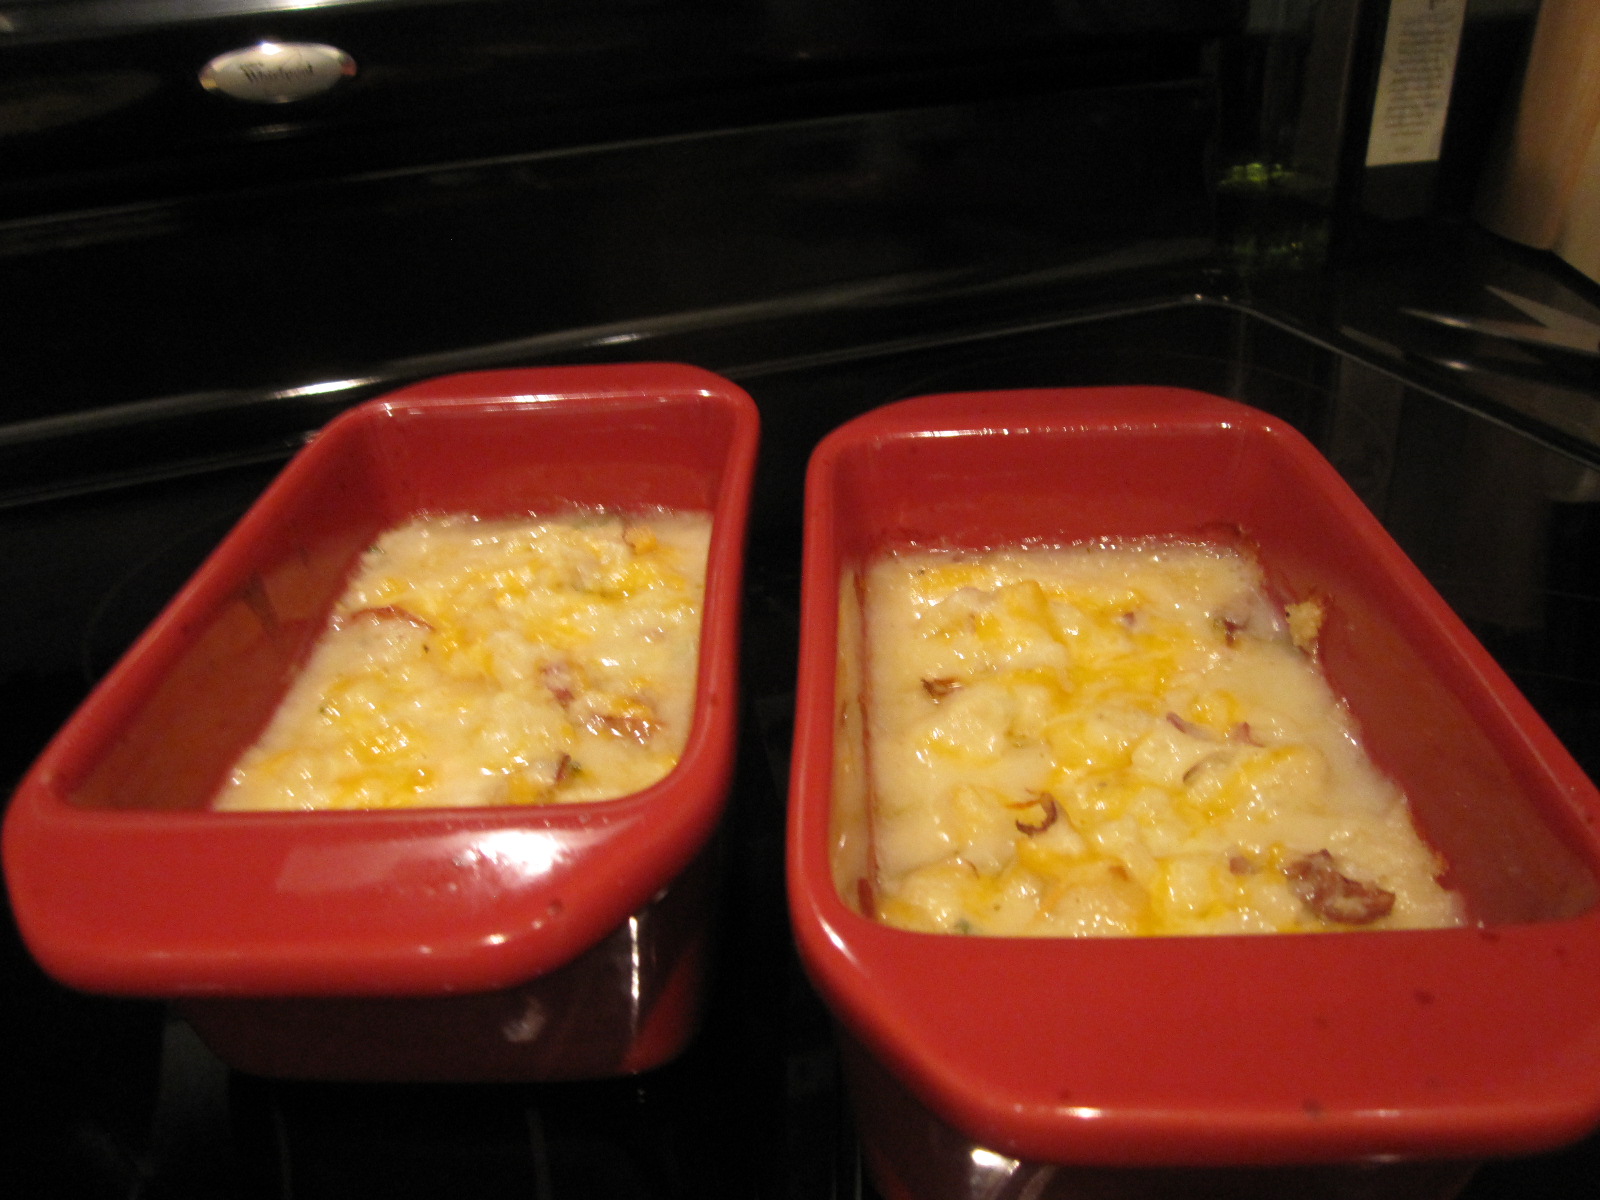
I love using leftovers to create new dishes and that is exactly how I came up with this Mini Chicken Shepherd's Pie recipe.  I used extra chicken pot pie filling from my Chicken Pot Pie with Cornbread Crust recipe.  I topped it with leftover mashed red potatoes and some shredded cheese.  This is great comfort food.  I don't know what I loved more, the shepherd's pie or the pot pie! 


Mini Chicken Shepherd’s Pie

Ingredients
2 cups chicken pot pie filling (click here for recipe)
1 cup mashed potatoes
½ cup cheese, shredded (cheddar or cheddar blend)

Directions

Preheat oven to 400 degrees F.

Spoon chicken mixture into 2 mini loaf pans.   My mini loaf pans are about 5 x 3 inch.

Top chicken mixture with mashed potatoes.


Top mashed potatoes with shredded cheese.

Bake for 20 to 25 minutes, until bubbly.


Waiting patiently...Buddy and Ellie must have thought the mini chicken shepherd's pies were for them!


Friday, October 5, 2012

Rice Cooker Mac and Cheese

I adapted this Rice Cooker Mac and Cheese recipe from the one I saw on The Washington Post in September (click for original recipe).  I had bookmarked the recipe and finally got around to trying it.  This mac and cheese turned out well and should be a kid-friendly dish.  You could easily adapt this recipe with different pasta shapes and vegetables too.  The best part was that I made mac and cheese in a rice cooker!  Be sure to use a 7-cup or larger rice cooker, I have a 14-cup rice cooker so I had no problem.  Also, I didn't stir it enough towards the end of cooking and the bottom had a layer of crisp melted cheese.  I actually didn't mind it at all because it tasted like the top part of a baked mac and cheese.  Feel free to sprinkle a little extra cheese on top when serving.  If you have a rice cooker, you need to try this recipe because its easy and delicious.  Enjoy!


Rice Cooker Mac and Cheese

Ingredients
8 ounces dried elbow macaroni pasta (or other shaped pasta)
2 cups low sodium chicken broth (or vegetable broth)
1 teaspoon salt
1 – 2 cups frozen peas and carrots (or other vegetables)
1 cup low-fat milk
1 ½ cups cheese blend, shredded (I used sharp cheddar, mozzarella and provolone.)


Directions

In the rice cooker, combine pasta, broth and salt.  Cover and cook for about 15 minutes on regular cooking cycle.  Open a few times to stir the pasta to prevent scorching the bottom.  The broth should be almost or completely absorbed when done.

Once pasta is cooked, add in milk, cheese and vegetables.  Cover and cook for additional 10 minutes on regular cooking cycle.  Open a few times to give everything a stir (to prevent scorching).   However, if you don’t stir it, you will get a bottom layer that gets a little crispy, almost like when you bake mac and cheese.

Serves 4 to 6.

Even Buddy and Ellie wanted this mac and cheese!  Ellie has a habit of pawing at my legs when she wants something...