I wanted to make a ricotta ice cream and it was a success! I love nutella and just added that in at the last minute. This ice cream is to die for - the ricotta is rich and creamy. The nutella adds that hint of chocolate and hazelnut flavor. I am really enjoying experimenting with ice cream recipes. I still haven't tried any custard based ice cream recipes with eggs but I might do that sometime soon. Seriously, homemade ice cream tastes far better than anything you buy in a carton at the grocery store. My next ice cream flavor I want to make is earl grey because I had an earl grey gelato recently and it was amazing and is my new favorite flavor. Enjoy!


Ricotta Nutella Ice
Cream
Ingredients
½ cup whole milk
½ cup heavy cream
¾ cup sugar
1 ½ teaspoons vanilla
15 ounces whole milk ricotta (about 2 cups)
1/8 teaspoon salt
¼ cup nutella

Directions
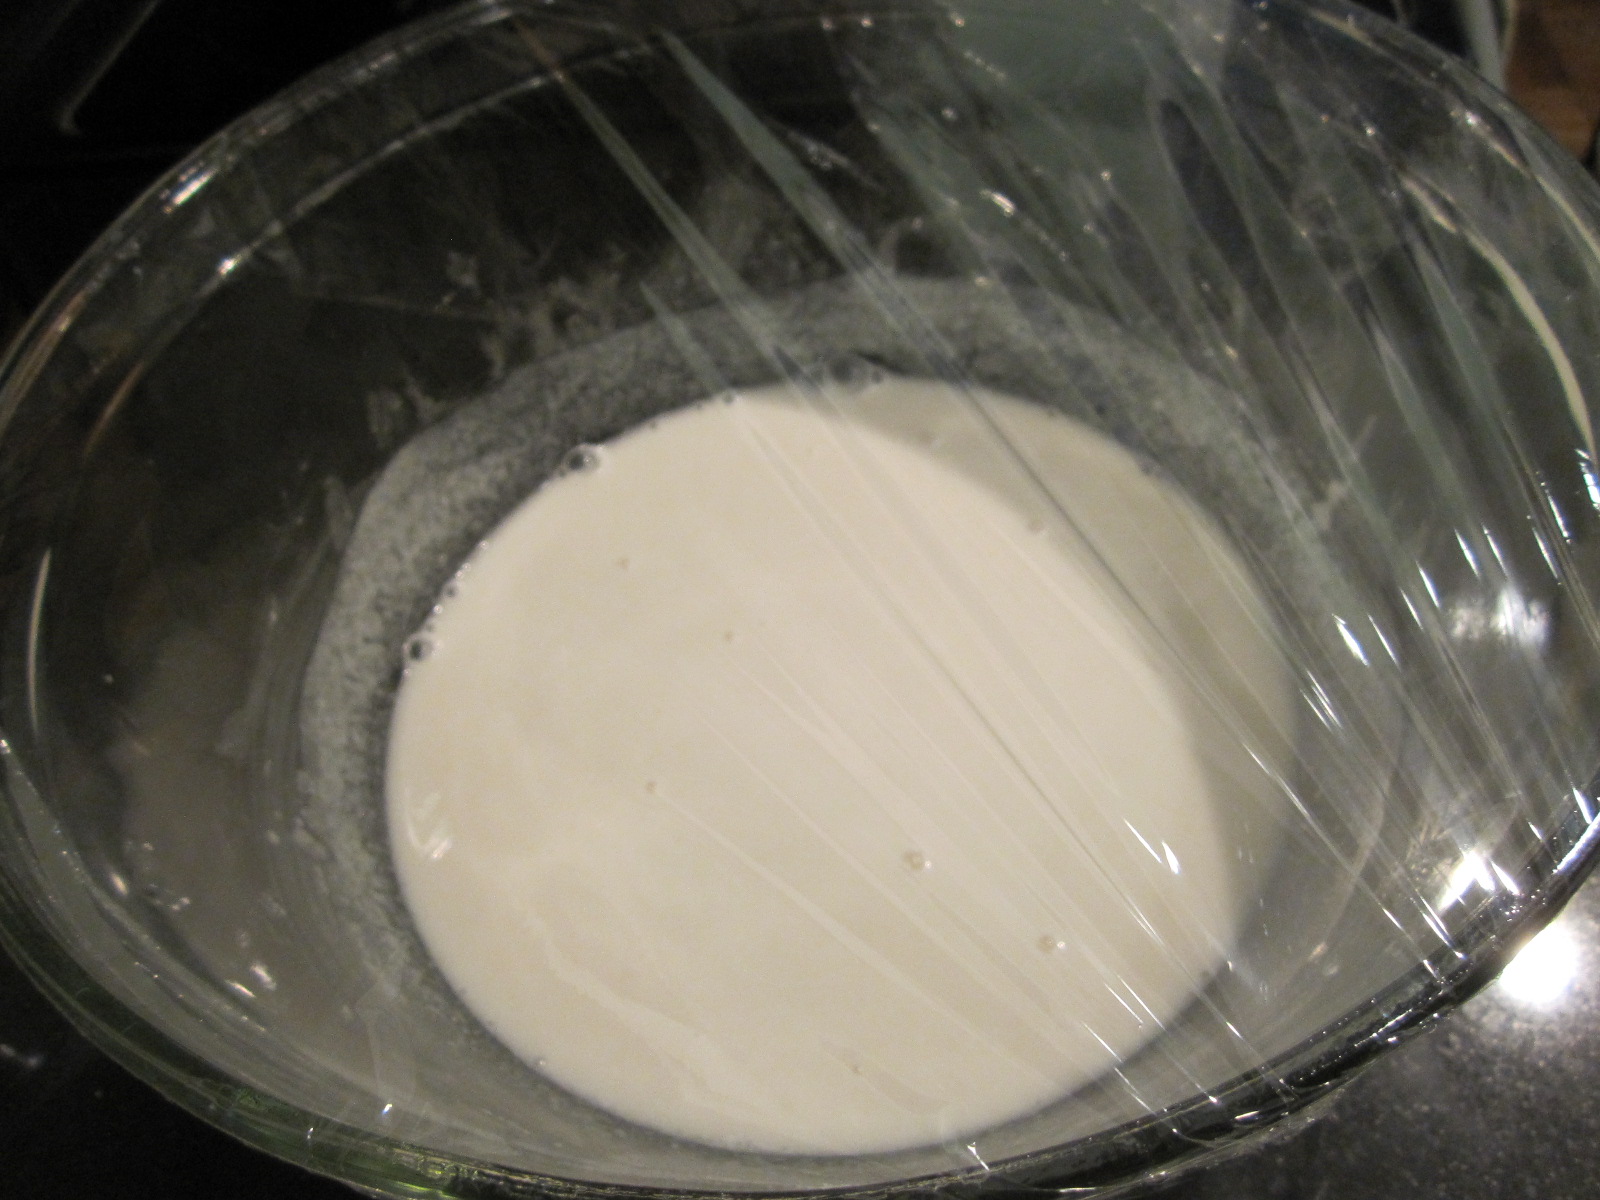
In a large bowl, whisk to combine milk, heavy cream, sugar,
and salt. Continue to whisk until
sugar is dissolved.
Slowly whisk in vanilla and ricotta until completely combined.


Pour the mixture into
the freezer bowl of an ice cream maker, and freeze according to manufacturer's
directions.

About 5 minutes before
the mixing is completed, add in the nutella.
*Took about 15 minutes.


Store in an airtight container and place in the freezer.