Pages

Thursday, May 24, 2012

Maria Nutella Cookie Sandwiches


I have been traveling for work this week so I haven't had a chance to cook at all.  I just got back and was able to pick up Buddy and Ellie, my 2 doggies, last night.  I missed them and it was strange not being able to sleep next to Buddy (and Ellie sometimes).  Buddy is my snuggler while Ellie likes to sprawl out when sleeping, see how she sleeps on the couch!


I don't know why but I was craving Maria cookies with nutella.  I haven't had them in a long time and I went through a phase of eating Maria cookies all the time.  If you don’t know Maria cookies, you should check out the latino section of your grocery store and buy some. They are thin, lightly sweetened biscuits.  They taste similar to animal crackers.  My cousin first told me about these cookies when she lived in Puerto Rico and she got hooked.  It is apparently a popular snack in PR!  I have a coworker who is from PR who told me to try the Maria cookies with Nutella.  If you don't know Nutella, it is a hazelnut chocolate spread and it is delicious.  You should be able to buy Nutella at any grocery store, its even at Costco.  

Another plus is how inexpensive these cookies are, less than $1 for a 7oz pack of cookies.  These Maria Nutella Sandwich Cookies are so simple and delicious that I bet you will get addicted to them!

Maria cookies + Nutella = Easiest Best No Bake Cookie Sandwich!

 
Ingredients

Maria Cookies
Nutella


Directions

Spread a small spoonful of nutella onto one Maria cookie.  Top with a second Maria cookie and press together.
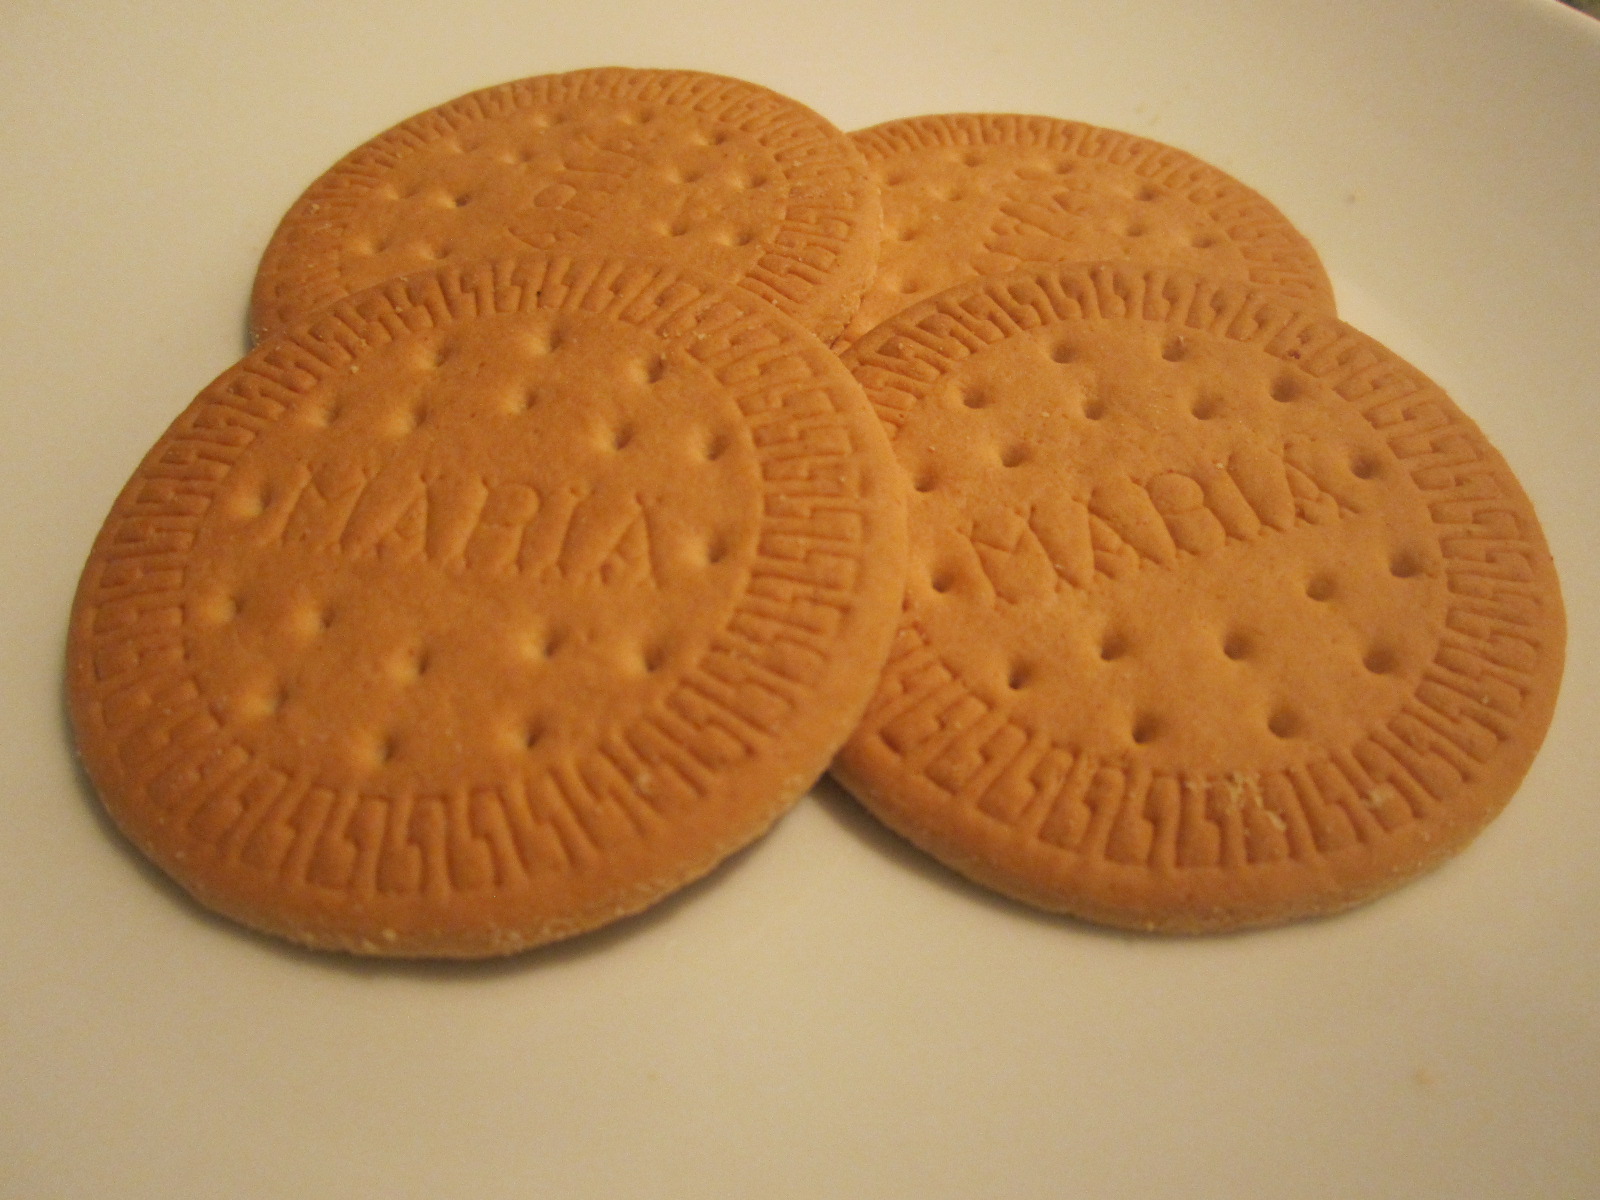


 Best snack ever!


Saturday, May 19, 2012

Homemade Pizza Pockets


You know the Hot (and Lean) Pockets you can buy at the grocery store in the freezer section?  I admit I will occasionally buy Lean Pockets when they go on sale since they are easy to bring to work for lunch.   But after discovering how easy it is to make homemade pizza dough,  you can use the same pizza dough to make homemade pizza pockets!  I adapted the recipe from Money Saving Mom's freezer meals postings.  I love how versatile you can make your filling too, because I used what I had already.  These homemade pizza pockets were so delicious; the filling was hot and the crust was crisp.  Since I had doubled the pizza dough, I made pizza with half and pizza pockets with the other half.  Any leftover pizza pockets can be frozen too, how awesome is that?!  

 
Ingredients

For the pizza dough:
1 tablespoon active dry yeast (I use Red Star yeast from Costco.)
1 cup warm water (105 to 115 degrees F.)
1 teaspoon sugar
1 teaspoon salt
2 tablespoons oil (olive or vegetable)
2 ½ cups flour

For the filling:
1 pound ground turkey
½ onion, diced
1 teaspoon garlic powder
1 teaspoon cumin
1 teaspoon chili powder
½ teaspoon salt
½ teaspoon ground black pepper
1 cup tomato sauce
mozzarella cheese (shredded or sliced)

 
For the pizza dough:

In a large bowl, add yeast and warm water.  Use a whisk to dissolve the yeast in the water.  Next add in the remaining ingredients and mix with a wooden spoon.  Knead dough on a floured surface for about 5 minutes.
 
For the filling:
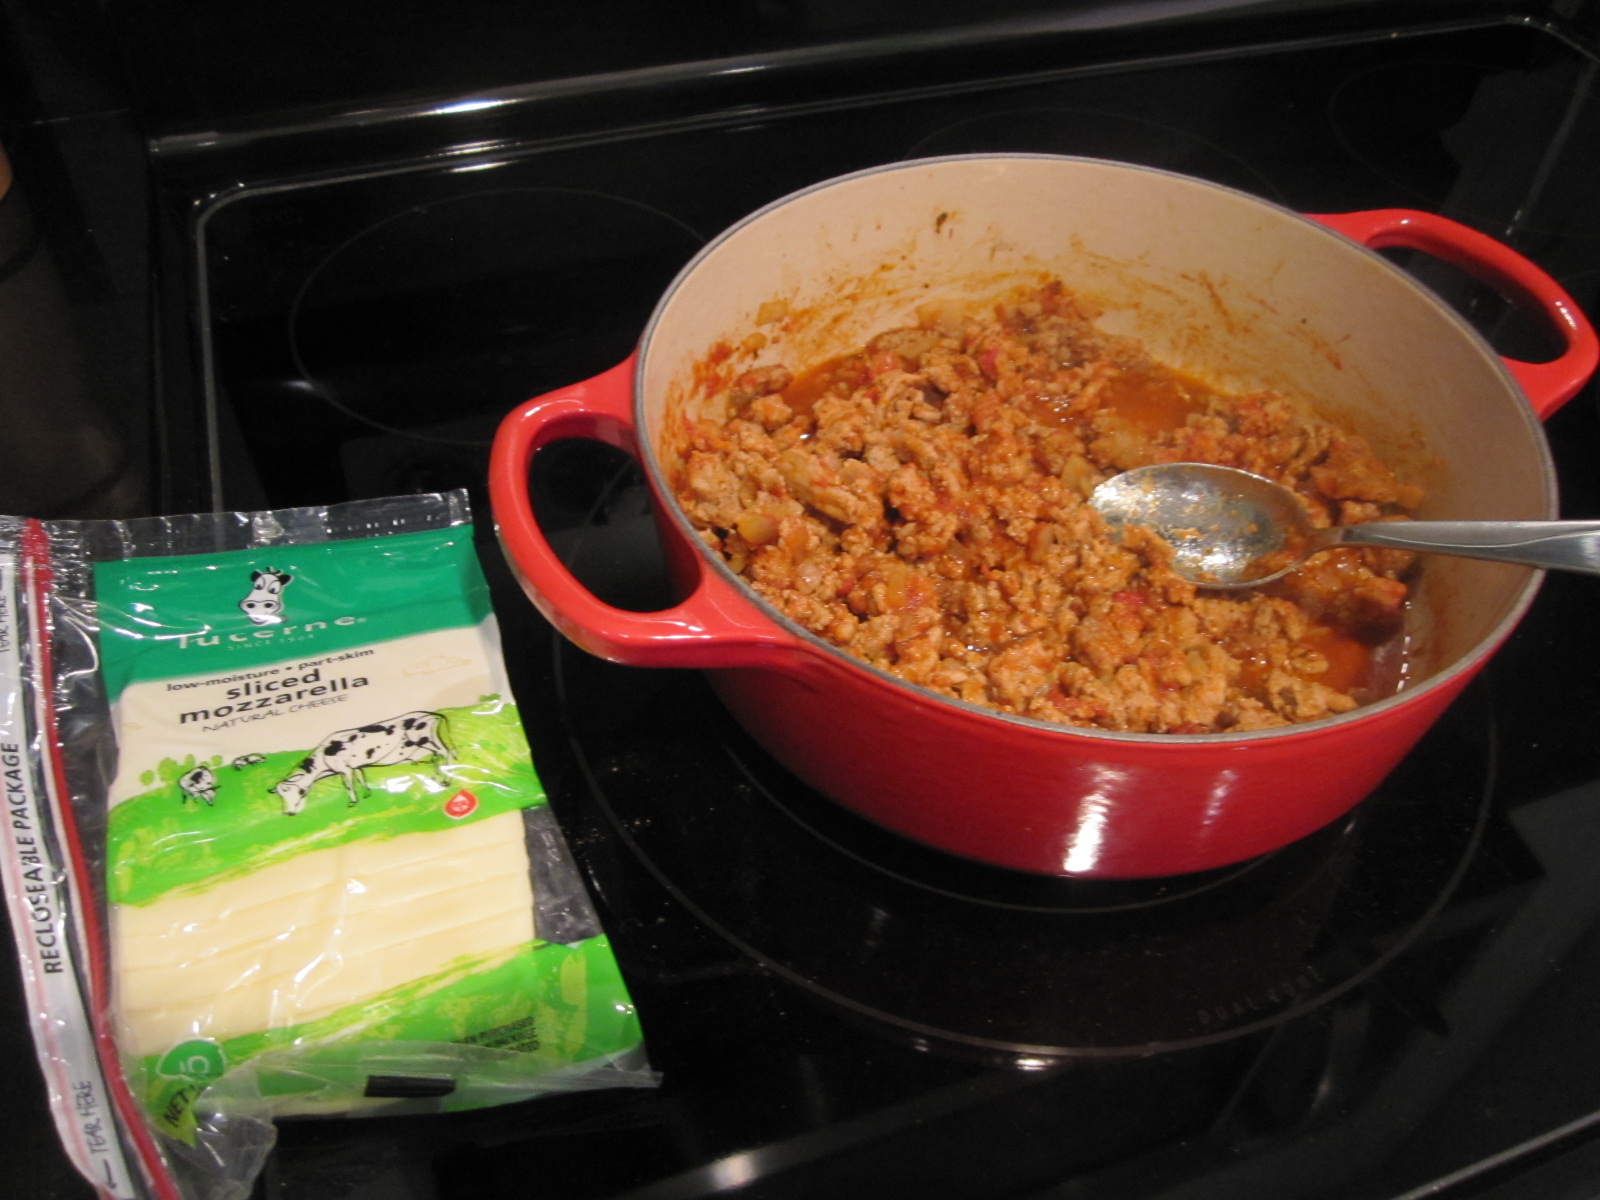
In a large pan, brown ground turkey with diced onion.  Add in spices.  Add tomato sauce and stir to mix together.  (Feel free to add other filling ingredients of your choice, such as pepperoni, diced peppers, mushrooms, etc…)


For the pizza pockets:

Preheat oven to 450 degrees F.

Divide dough into 10 to 15 pieces.  Roll dough pieces into balls.  Next, flatten dough balls with a rolling pin.  Spoon about 2 tablespoons of filling onto one side of the dough circle.  Sprinkle with shredded cheese or half a slice of cheese.  Fold dough over and seal tighly with fingers or a fork. 


Bake on a greased baking sheet for about 15 minutes until lightly browned.  You can also lightly sprinkle some cornmeal to add some texture to your pizza pockets.


Place pizza pockets from oven to a cooling rack.   If you have leftovers, you can freeze them!


After they cool completely, store in a freezer bag for up to 2-3 months.  To reheat frozen pizza pockets, microwave for about 2 minutes or warm in the oven for about 20 minutes at 350 degrees F.  Check to make sure they are heated through before serving.  Enjoy!


Friday, May 18, 2012

Pizza Dough


TGIF!  I love not working on Fridays since it gives me more time to actually cook.  I have never tried to make homemade pizza before but I was motivated after I saw a simple recipe for homemade pizza dough. I adapted the pizza dough recipe from Money Saving Mom.  What is great is that you can freeze this pizza dough to use later, so I recommend doubling or tripling the recipe.  I actually doubled the recipe to make homemade pizza pockets!  I will post the recipe to those soon, which I also adapted from Money Saving Mom.   I had no idea how easy it was to make homemade pizza dough, so I hope you try it if you haven't before.  Happy Friday!


Ingredients
1 tablespoon active dry yeast (I used Red Star yeast from Costco.)
1 cup warm water (105 to 115 degrees F.)
1 teaspoon sugar
1 teaspoon salt
2 tablespoons oil (olive or vegetable)
2 ½ cups flour 
cornmeal (optional)


Directions

Preheat oven to 450 degrees F.

In a large bowl, add yeast and warm water. (I  warmed the water in the microwaved for about 45 seconds.)  Use a whisk to dissolve the yeast in the water. 


Next add in the remaining ingredients and mix with a wooden spoon.


Knead dough on a floured surface for about 5 minutes.


Roll out dough and press down onto a greased pizza pan or stone.  (I actually just flipped a baking sheet over and used the underside to bake the pizza.)  You can also dust your baking pan with some cornmeal to add texture to your pizza crust.

 
Add your favorite toppings! I spooned the tomato sauce and added sliced golden beets and fresh mozzarella cheese. (I love beets and I will post how I cook beets soon too!)


Baked for about 15 minutes until edges of crust are lightly browned.


You can also double or triple this pizza dough and freeze the extras if you don’t need it.  Just defrost in the fridge in the morning and it should be ready for dinnertime.

Tuesday, May 15, 2012

Roasted Lemon Garlic Broccoli


OMG, I love this broccoli dish!  The crispy garlic and lemon flavor really come together with the broccoli.  I could eat the entire bowl on my own.  It is so flavorful!  I adapted this recipe from Ina Garten aka Barefoot Contessa's parmesan-roasted broccoli.  Also, I know I just posted a recipe on broccolini yesterday but I bought 2 small bunches of broccoli today at the farmers market and I had to try Ina's roasted broccoli recipe.  It turned out fantastic!  You need to make this broccoli dish ASAP and you will not regret it!


Ingredients
2 small bunches of broccoli
2 garlic cloves, roughly sliced or minced
1 lemon
2 tablespoons olive oil
½ teaspoon salt
½ teaspoon ground black pepper
parmesan cheese, grated (optional)

 
Directions

Preheat oven to 400 degrees F.

Cut broccoli into florets.  Place broccoli florets onto a baking sheet.  (I cover my baking sheet with foil to make it easier to cleanup.) Toss with olive oil, salt, pepper, and garlic.

 
Bake in oven for about 25 minutes, until lightly browned.  When done, next zest the lemon over the broccoli.  I only used the zest of about ½ the lemon. 


Cut lemon in half and squeeze juice of ½ lemon over the broccoli.  (Feel free to add more zest and/or lemon juice if you really like the flavor of lemon.)


Top with grated parmesan cheese if you want.  Serves 2-3.


Monday, May 14, 2012

Rice bowl with Garlicky Broccolini and Poached Egg


Easy Meatless Monday...a rice bowl with garlicky broccolini and a poached egg on top!  I don't count eggs as meat (unless you are vegan and I am not) because under kashrut, or Jewish dietary laws, eggs are considered pareve, neither meat nor dairy.  I bought the broccolini at the farmers market too so they must be in season.  I am also super excited to have figured out a way to make easy poached eggs, using poachpods!  I recently bought a set of poachpods which is a silicone egg poaching tool.  They are awesome and now I use them every time I made poached eggs.  You definitely have to follow the directions which say to oil the pods before you place an egg in it.  This will ensure the poached egg slides out of the pod easily.  I haven't mess one up yet!  Its worth the $10 investment if you want perfectly poached eggs every time.  

This rice bowl is simple and delicious, I love the crispy garlic and poached egg mixed with the rice.  Enjoy!


Ingredients
rice, cooked (I use a rice cooker to make rice.)
1 bunch of broccolini
1 garlic clove, minced
egg, poached
1 tablespoon olive oil


Directions

For the garlicky broccolini

Place broccolini in a pan and cover with water.  Bring to a boil and simmer for 5 to 7 minutes, until broccolini is tender and turns bright green.  Drain broccolini.  Return pan to stovetop over medium heat and add olive oil.  Add garlic and sauté for about 2 minutes until lightly browned.  Add broccolini to pan and coat in oil and garlic. 


For the poached egg

In a pan, bring water to a simmer, not boiling.   

Crack an egg into an oiled pod and float them in the simmering water for about 5 to 7 minutes.  Cover with a lid.  I set a timer for 5 minutes then I start watching it.  Use a slotted spoon to remove pod from water.  The poached egg should slide right out of the pod. 


Scoop some rice in a bowl.  Top with garlicky broccolini.  Top the broccolini with a poached egg.  Serve immediately.